Hanging pictures on either side of a window can add beauty, character, and style to any room. The right pieces of art can draw the eye to the window, brightening and adding depth to the space. But where do you begin? How do you hang those beautiful pieces of art around your windows? Fortunately, hanging pictures on either side of a window is not as hard as it may seem.
Here are some tips and tricks for hanging pictures on either side of a window.
Why Hang Pictures on Either Side of a Window?
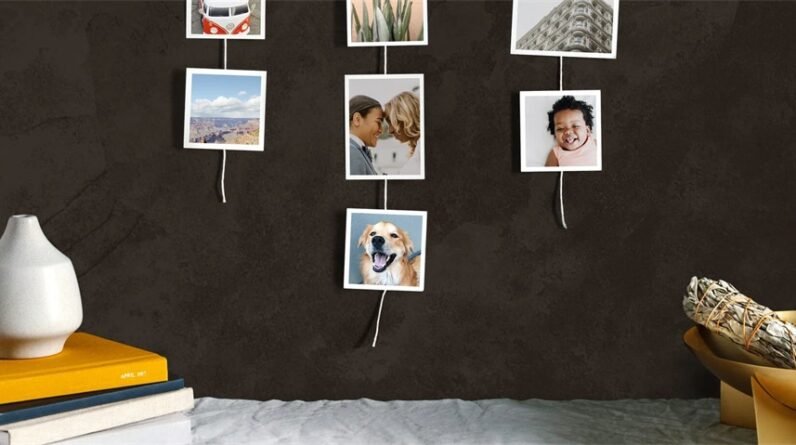
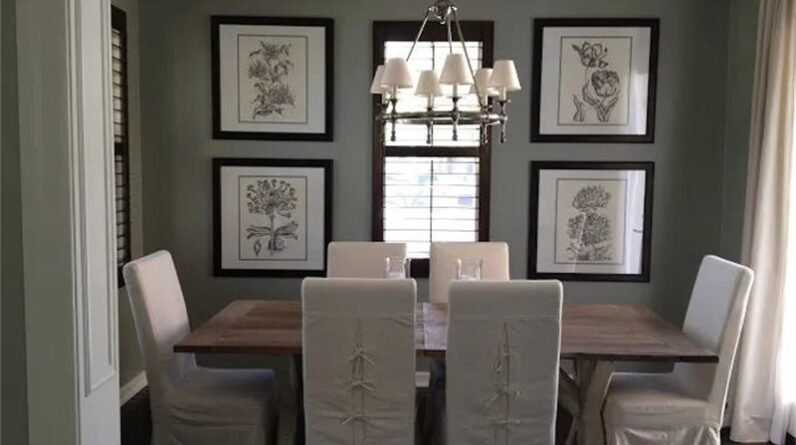
Hanging pictures on either side of a window is an effective way to create visual interest in your space. It adds depth, texture, and dimension to your walls, while also emphasizing the natural light source in the room. Additionally, this placement creates symmetry and balance that makes your space feel cohesive.
Tools You Will Need
- Hanging hardware (picture hangers or hooks)
- Nails or screws (depending on the weight of your frames)
- Hammer or drill
- Tape measure
- Pencil
- Level
Steps to Hang Pictures on Either Side of a Window
Step One: Measure Your Wall Space
Before you start hanging pictures on either side of a window, it is important to measure your wall space. This step will help you determine the size and placement of your artwork. Start by measuring the width of the wall space on either side of the window frame.
Next, consider the height of the ceiling and how much space you want between each picture and the window frame. It's important to ensure that there is enough distance between each piece so they don't look cluttered or overwhelming.
If you're not sure about sizing or spacing, try using painter's tape or cut-out paper shapes to visualize how each piece will fit on your wall before committing to hanging them up permanently. Taking this step will save you time and effort in the long run as it ensures a more cohesive and balanced display.

Step Two: Choose Your Frames
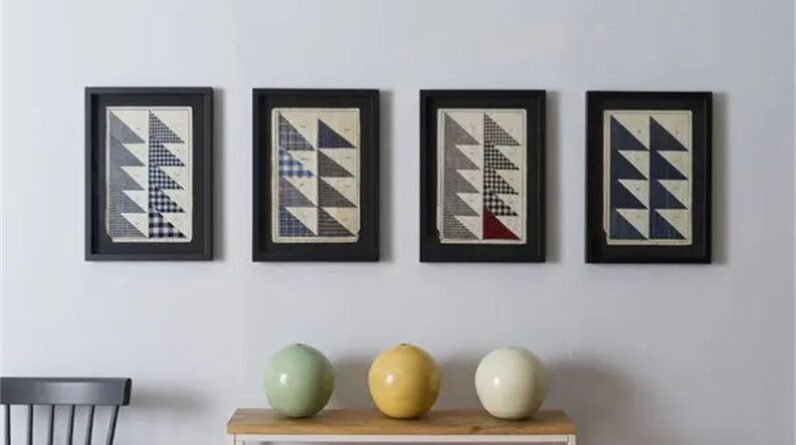
When it comes to hanging pictures on either side of a window, choosing the right frames is crucial. Your frames should complement the overall aesthetic of your room and work well with the existing decor. One tip is to choose frames that are similar in style and color to create a cohesive look.
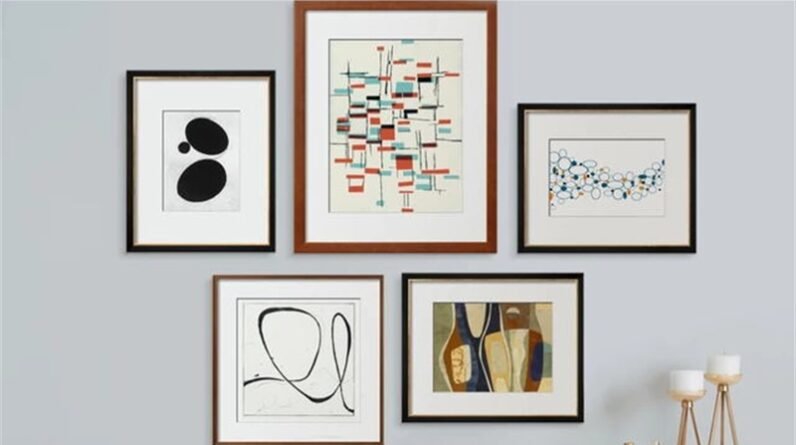
Another consideration when selecting frames is the size and shape of your pictures. If you have larger pieces, opt for wider frames or even gallery-style frames for a more modern feel. For smaller prints or photos, thinner frames can work well without overwhelming the space.
Lastly, don't be afraid to mix and match different frame styles for an eclectic look. Just be sure to keep them within a similar color scheme or use neutral tones as a unifying factor. By paying close attention to your frame choices, you can ensure that your picture arrangement looks polished and stylish on both sides of your window.
Step Three: Mark Your Wall
Using your pencil, mark the wall where you want to hang your pictures. Make sure to measure and mark each side of the window equally to maintain the symmetry of the design.
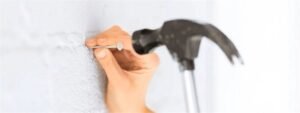
Step Four: Install Your Hardware
Install your hanging hardware (picture hangers or hooks) at the marked spots on your wall. Use nails or screws that are appropriate for the weight of your frames. If you're unsure, opt for heavier-duty hardware to ensure a secure hold.
Step Five: Hang Your Pictures
Hang your picture frames on either side of the window using the installed hardware. Use a level to ensure that they're straight and symmetrical.
Conclusion
In conclusion,hanging pictures on either side of a window can be an effective way to decorate your living space. It is important to select the right type of picture frames, the correct distance between frames, and the proper height for each frame. Additionally, it is important to make sure each frame has a secure mounting system to ensure that it does not fall off and cause any damage. With careful planning and consideration, you can have a beautiful display of photos around your window!
FAQs
Q: How many pictures should I hang on either side of the window?
A: When hanging pictures on either side of a window, it's important to strike the right balance between visual interest and clutter. Generally speaking, two to three medium-sized pictures work well for most windows. These can be hung at eye level or staggered in height for added dimension.
Q: How do I ensure my pictures are level?
A: A simple way to do this is by using a leveling tool such as a bubble level or laser level. Place the leveling tool on top of the picture frame and adjust accordingly until it shows that the picture is perfectly level.
Another option is to use a piece of cardboard or paper with a straight edge. Hold the straight edge against the bottom of the picture frame and adjust until it aligns perfectly with the straight edge. This method may be more time-consuming but can still achieve accurate results.
Q: Can I hang pictures on a window frame?
A: Hanging pictures on a window frame can be tricky but not impossible. Before doing so, you have to make sure that the picture frame is light enough for the adhesive strips or hooks that you’ll be using. Once you’ve determined this, clean the surface of the window frame where you plan to hang your picture to ensure it will adhere properly.
Q: What is the best way to hang heavier items?
A: One way is to use wall anchors that are specifically designed for heavy objects. These anchors can support up to 75 pounds each and are easy to install with a drill.
Another option is to use a French cleat system, which involves attaching one part of the cleat to the wall and the other part to the back of your picture frame. The two parts then interlock, creating a secure hold for your heavier item.
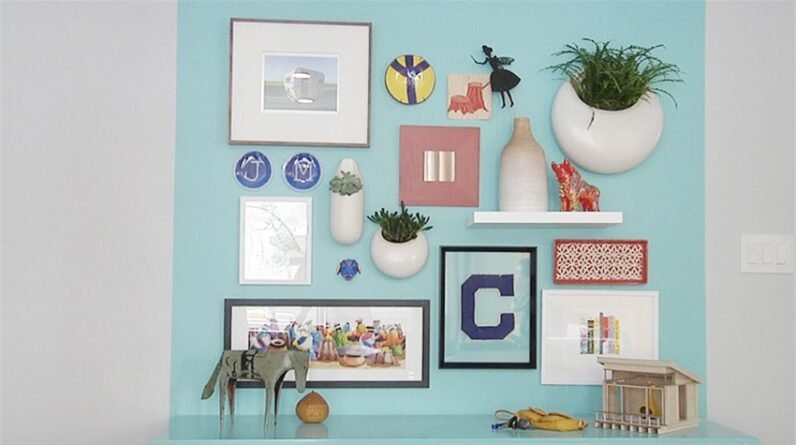
Q: Can I mix and match different types of artwork?
A: Yes, it is possible to mix and match different types of artwork when hanging pictures on either side of a window.