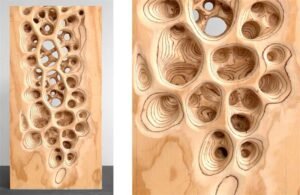
If you’re looking to add a unique piece of art to your wall, plywood art is the perfect solution! Not only is it an affordable way to spruce up any room, but it also makes a statement and can be customized however you’d like. Before you hang your plywood art, there are some important steps you’ll need to take in order to ensure that your artwork will stay securely on the wall.
Materials Needed
To hang plywood art on a wall, you’ll need some essential materials.
- First and foremost, you’ll need the artwork itself – in this case, it’s plywood.
- Next up are the tools that help hang the artwork securely on the wall; a measuring tape to measure accurately, a carpenter’s level to ensure everything is straight and plumb, a pencil or marker to mark spots for drilling holes, screws, or nails as per your preference.
- Other materials include drill bits of varying sizes depending on the size of your artwork and screws/nails.
- If you plan on hanging larger pieces of art with considerable weight such as heavy-duty plywood panels or gallery-grade pieces, then it’s recommended to use wall anchors for extra support.
Lastly, make sure that all your materials are handy before starting work so that you don’t have to leave mid-way through mounting your artwork. Taking inventory of these supplies beforehand will save time and ensure an efficient installation process.
Preparing the Wall
Preparing the wall is an essential step when hanging plywood art. The first thing to do is to ensure that the surface of the wall is clean and smooth. Use sandpaper or a scraper to remove any bumps, lumps, or paint flaking off the wall. Afterward, dust off any debris created by sanding and wipe down with a damp cloth.
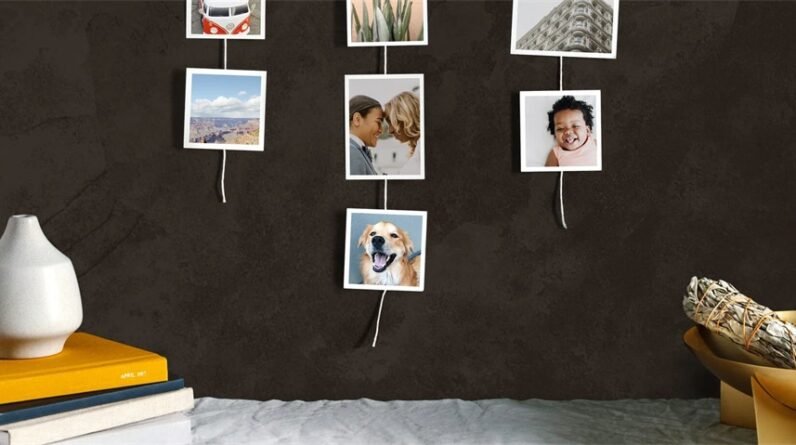
Once you have cleaned up the surface, it’s time to measure where you want your artwork to hang. Use a tape measure and pencil to mark out where each piece will go. This helps ensure that everything hangs straight and even in its designated spot.
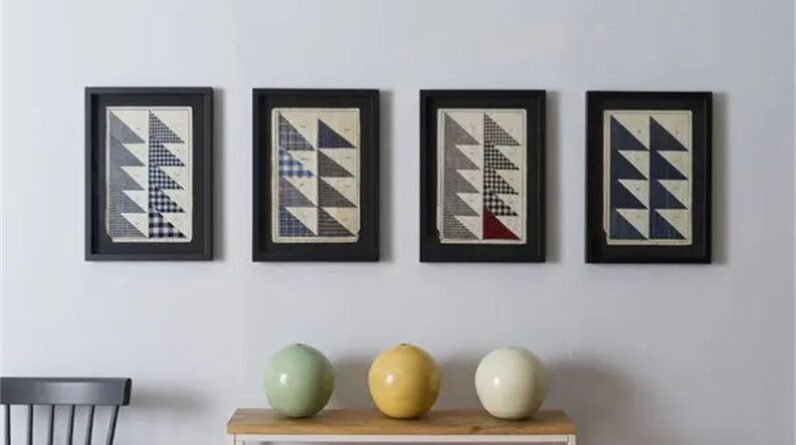
If hanging multiple pieces, consider using a level tool for precision alignment. After measuring and marking out your spots on the wall, it’s time to secure them using appropriate hardware like screws or nails, depending on your preference. Ensure that you use screws/nails that can accommodate the weight of your plywood artwork without sagging or falling off over time.
With these easy steps done right, you can now easily hang your beautiful plywood art on your walls that have been prepared.
Hang the Plywood Art
Hanging plywood art on a wall is not as difficult as it may seem.
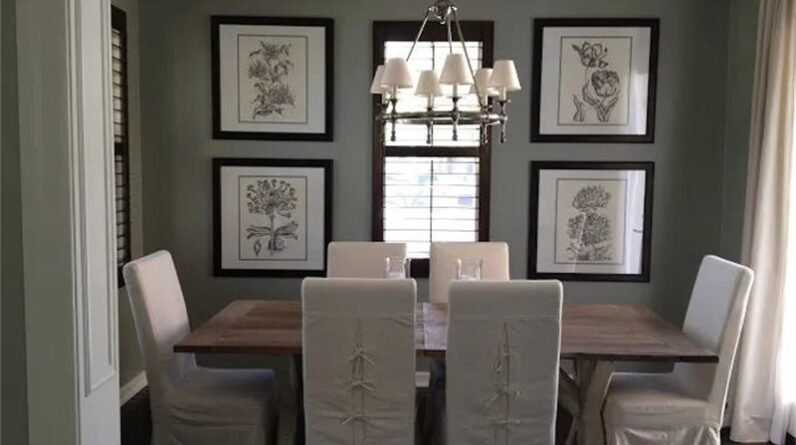
- The first and most important step is to ensure that the plywood is properly framed. This will not only protect the artwork but also make it easier to hang on the wall.
- Once you have secured a frame for your plywood art, you need to decide where to mount it on the wall. Prioritize an area that has enough space and that won’t be too crowded by other décor.
- After deciding on a suitable location, measure the height and width of your artwork with accuracy, then mark the position of each corner using a pencil or any other marker before drilling holes in place for screws or nails. Be careful when drilling so as not to damage any electrical wiring behind the wall.
- Finally, use screws or nails that are strong enough to hold up your artwork without falling off or damaging the wall over time.
Conclusion
In conclusion,hanging plywood art on a wall is a great way to add a creative and unique touch to any space. With the right materials, tools and steps, it’s easy to complete this project in one afternoon. By considering the size of your artwork, the type of plywood you choose, and how many nails you will need to complete the job, you can successfully hang your artwork without damaging it or the wall.